
Reduction Lino Print: How I made my Spotty Begonia Lino Print

Do you like spots? Do you like stripes? Do you like plants? Do you like spotty plants in stripy pots?
Well you’re in the right place as I have the perfect Lino Print for you. My Spotty Begonia has just landed in my Lino Print Shop and is waiting for a new home.
These plants are also known as Begonia Maculata, or Polka Dot begonias and can often be used to symbolize misfortune or bad luck, but I prefer to think of them with their other meaning of expressing thanks, peace, and harmony
My Spotty Begonia was created over a few months using the Reduction Lino Print method and printed in a limited edition of 15, with 9 layers of blues and olive greens with beautiful silvery metallic spots and if I do say so myself I think it would look smashing on your walls or make a wonderful creative housewarming gift
Quite often I get people wondering how my Botanical Lino Prints are created, so let me show you layer by layer how I made my Spotty Begonia Lino Print

But first of all what do I mean by a Reduction Lino Print?
Well the Reduction Lino Print method is a way of building up layers and colours just by using one piece of Lino. So I will begin by drawing out my design and cut away any areas not to be included in the overall design. So for this piece it is the back ground. Then I will print my first colour. Then I will cut away what I want to keep that colour and cut it away on the Lino, then print my next colour. I keep doing this process, reducing the Lino down until I have completed my design. And that is how you do a Reduction Lino Print
Spotty Begonia Reduction Lino Print layer by layer
Layer 1

First of all I wanted the background to be clear so I cut that out first before printing my first colour
Traditionally with any type of multiple coloured/layered Lino Print, when looking at guide books, they will quite often say you should start with your lightest colour and finish with the darkest. Well I’ve always done my own thing and I will usually will start a Reduction Lino Print with a dark colour, and for my Spotty Begonia I did just that. Beginning with a very dark green
And once again, when looking at guide books, they will usually tell you to ink up your entire Lino, but I quite often only ink up sections. So for my first few layers I decided to only ink up the plant areas
Layer 2

For the second layer I just inked up the stems with a brown colour. Once printed I cut them off the Lino ready for the third layer
Layer 3

For the third layer I printed another, slightly different, dark green. This layer filled in any missed bits from the first layer and covers any of the brown that overlapped onto the leaves
Once printed it was time to cut out the veins in the leaves ready for my fourth layer
Layer 4

A much lighter green was printed for the forth layer revealing the dark olive green veins in the leaves
Once printed it was now time to cut out the trickiest part of this Reduction Lino Print
Layer 5

If you’ve ever seen a Begonia Maculata in real life you will know they have these marvellous metallic silvery spots on their leaves and I really wanted to recreate that so I got myself some lovely silver Lino Printing ink
But first of all I needed to cut around the spots on the leaves. This meant cutting around about 200 spots. It certainly took some patience, time, several hours in fact, and luckily only a couple of spots were accidently chopped off and I only went a little bit dotty in the process

The silver ink was a bit too silver, so I added a teeny tiny amount of white to it, and then printed the fifth layer, and if I do say so myself it looks rather splendid. And now need to think of more Lino Prints to have silver in them
Anyway, time to move on to the sixth layer
Layer 6

The plant part of this Reduction Lino Print is now complete so this section was cut away completely and just leaving the plant pot and base of the print
So for the sixth layer I wanted the inside of the pot to be a really dark bluey green almost black colour and I inked up the entire plant pot area in this colour
Once printed the inside of the plant pot was cut away ready for the seventh layer
Layer 7
I decided to go with various shades of blues and I wanted the plant pot to be stripy. I kind of feel it wouldn’t be a Kerry Day Lino Print if it didn’t have stripes somewhere
So I began with a cyan blue and inked up the entire Lino
Layer 8
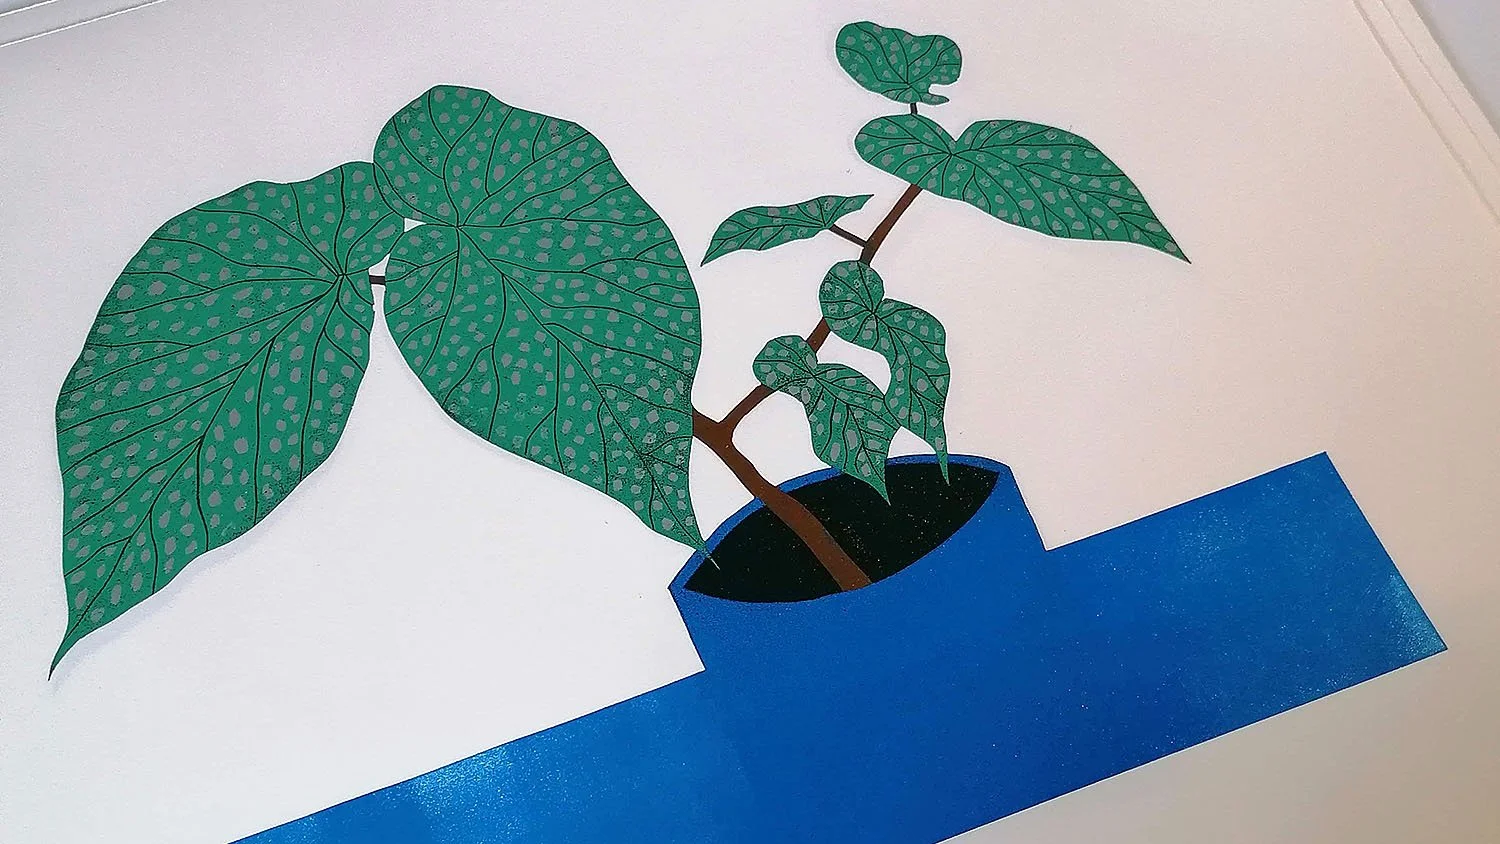
The areas I wanted to keep the Cyan blue were cut away and a lighter blue was printed on top
Layer 9

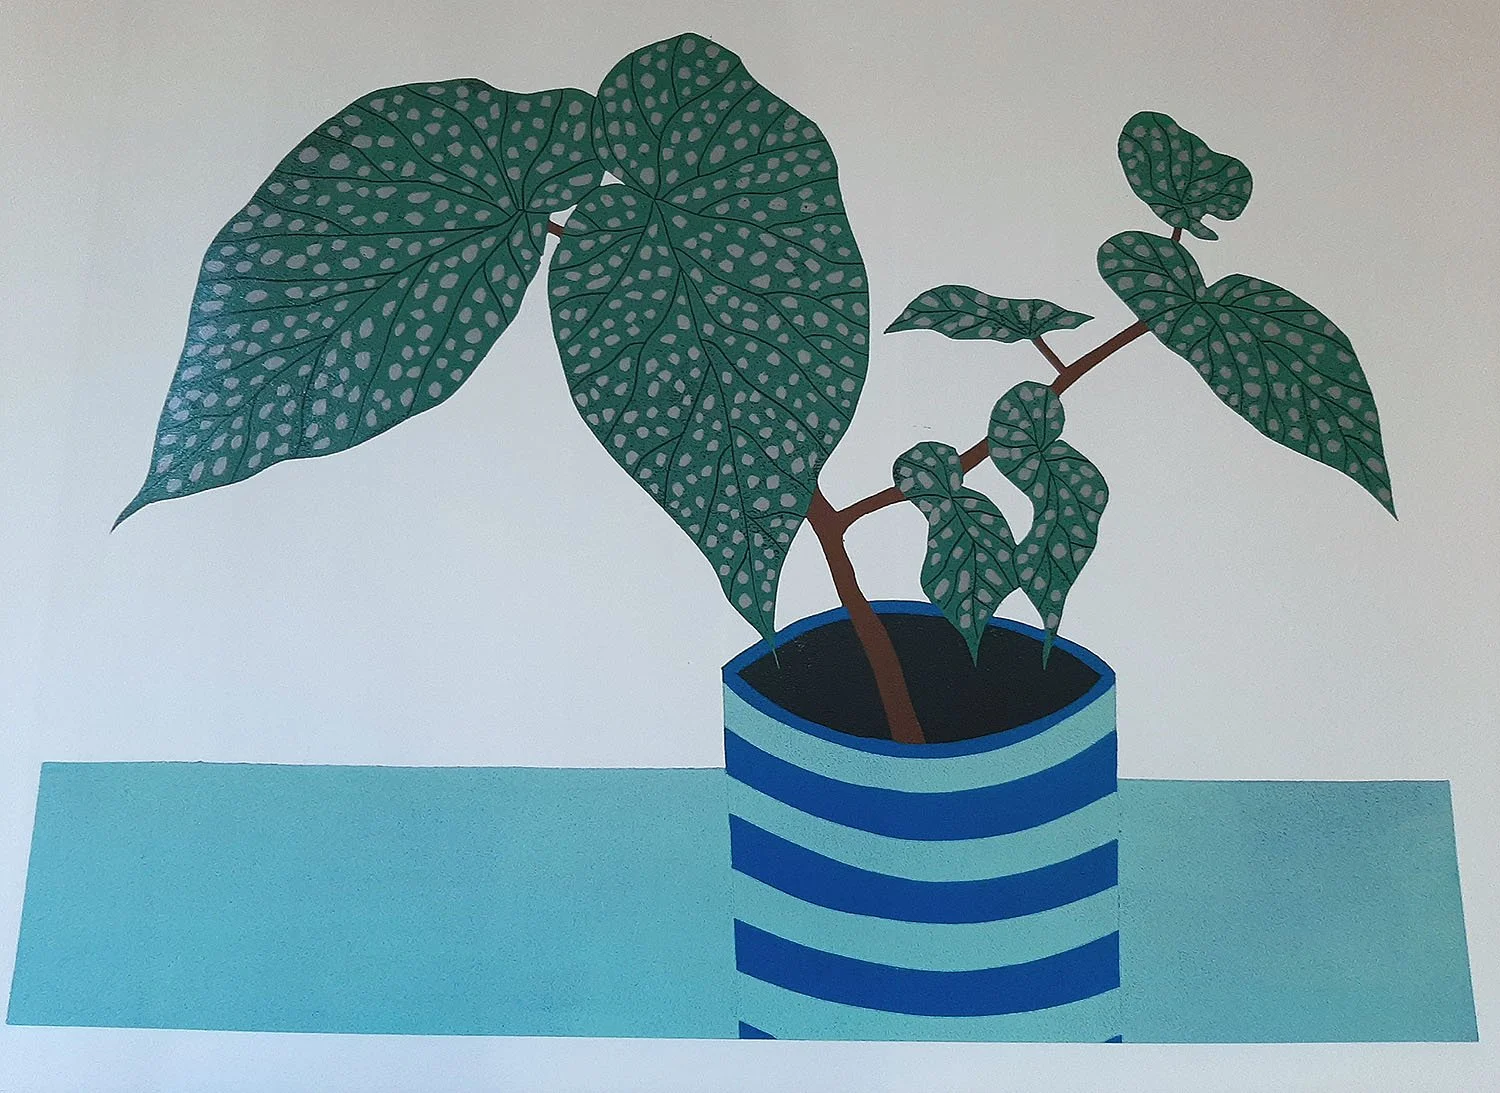
The areas I wanted to keep the paler blue were cut away, the stripes on the plant pot, and I used a white layer for my ninth and final layer
I mixed up two whites, on with some extender in which makes it more transparent and a white without. The one with the extender was used on the base and the one without on the plant pot, giving the impression of two more colours
And there you go, my Spotty Begonia Reduction Lino Print explained layer by layer
And Finally ……
If you would like to find out more about the Reduction Lino Print method then please do have a read of Lino Printing Tips: How do I make my colourful botanical lino prints?
To see my other Colourful Botanical Lino Prints please head to my Lino Print Shop
If monochrome is more your thing then my Black and White Lino Print Shop is for you
Links
Below are a few link of where I buy my Lino, Inks and Paper from?
handprinted.co.uk - General Printmaking Supplies
intaglioprintmaker.com - General Printmaking Supplies
johnpurcell.net - Printmaking Paper