
Lino Printing Tutorials: 3 More Ways to Line Up Your Lino Prints When Printing
Ever wondered how printmakers always have their prints perfectly lined up on the paper? Well judging by the reaction of my last blog post on the subject and the accompanying video loads of others were wondering too
Who would have thought Lino registration techniques would be so popular?
So, following on from my original Lino Printing Tips: 3 Ways to Line Up Your Lino Prints When Printing blog post and Lino Printing Tutorial Video let me show you another 3 ways using these simple and cost-effective techniques
If you rather watch the tutorial then please scroll on to the end
1 – Gridded Registration – A variation of the Simple Paper Registration useful for single colour Lino prints
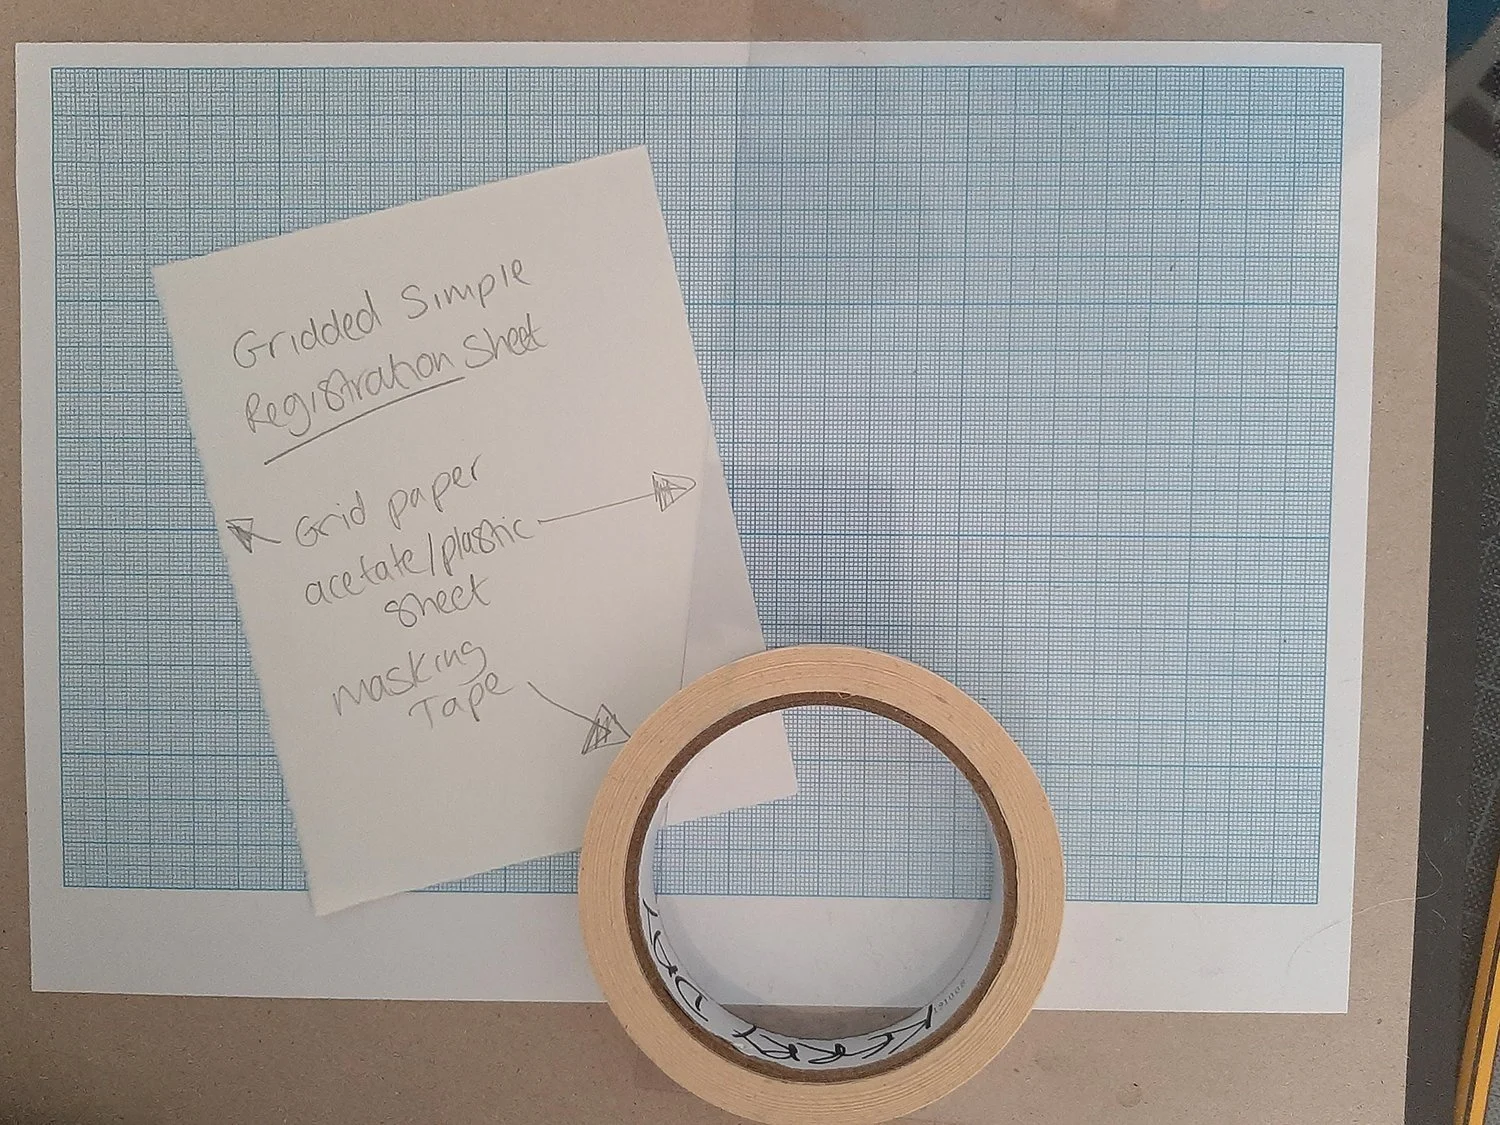
This is a variation on the Simple Lino Registration method mentioned in Lino Printing Tips: 3 Ways to Line Up Your Lino Prints When Printing but uses a gridded sheet of paper instead. The grids can help act as guides, for you to line your paper and lino up against without having to draw placement marks. I’ve also used a sheet of acetate over the top to make it reusable and easy to clean

Get a piece of gridded paper bigger than the paper you intend to print on
Get a sheet of thin plastic/acetate same size as gridded paper and place on top. You can tape it into place to stop it from moving
Then place your printing paper on top, lining it up with the grids. Place masking tape around all four corners. On the bottom right or left place a X. This is where you will line your paper up to
Remove printing paper. Then place your Lino inside the paper guides you’ve just made. Decide where you would like to have the Lino and place tape around it. Again, place a X to the bottom right or left as this is where you will line your Lino to
At this stage it is useful to right TOP or mark the top of the page so you always use it in the same direction, especially if using this method for multiple colours
And there you have a simple gridded registration sheet

2 - Window/Jig Registration - Useful for single colour and multiple-coloured Lino prints

A great way to register your Lino Prints, especially if you are using multiple plate or using the reduction method is by using a Window Registration. Some may know it as a Jig. It’s essentially a window cut out of a piece or card or wood for your Lino to sit into while you’re printing.
This method is also good if you are using an irregular shaped lino, like a circle

Get two pieces of card or wood bigger than your printing paper. I like to use Grey board at least 3mm thick or thin MDF
On one of the pieces draw around your paper
Inside the drawn lines place your Lino and decide where you would like it to be
With a sharp Stanley knife (or jig saw if using wood) cut out where your Lino will sit. This will create the Window/Jig
Place the other piece of board underneath. It’s not necessary to have a bottom piece but I find it is useful if you need to move it from your inking up space to your printing space and the bottom piece stops your Lino from falling out
Glue or tape the bottom piece of card/wood into place. If using glue leave under some weight for a few hours
Take 2 strips of thin card and place them at the bottom right or left of where your printing paper will sit and glue or tap into place
Now you have a Window/Jig Registration


3 – A Fixed Registration - Very Useful for Reduction Lino Printing

This method is the one I use the most, regardless of whether I’m doing a reduction Lino Print or one of my black and white Lino Prints
The advantage of this method is the Lino is glued into place which means you don’t have to worry about getting your Lino in place each time you print. You just need to get the paper into place
Also, Lino can sometimes have a curve to it so by gluing it down it helps to flatten it and makes printing easier
And if you have a lot of the background carved away you can just cut it off completely with a pair of scissors and avoid accidental inking

Get a piece of card/wood bigger than your printing paper
Draw around your printing paper and place two strips of thin card at the bottom left or right corner and tape or glue into place. This will be where you will line your paper up to
Inside the drawn lines decide where you want your Lino to be and glue into place. I find regular PVA works well. Leave under some heavy weight for a few hours
I usually varnish mine with a waterproof varnish, such as a Shellac or Yacht Varnish. This makes it more durable and easier to clean if you get ink on it
And there you have a Fixed Lino Registration. Once finished with it is fairly easy to remove the Lino and then you can reuse the board for another Lino Print

Watch Another 3 Ways to Register Your Lino Ready for Printing
And Finally
So, there you have it, 3 more ways to line up your Lino Prints and making your printmaking life easier with these simple Lino Registration techniques
If you want even more ideas then why not take a read at my original blog post Lino Printing Tips: 3 Ways to Line Up Your Lino Prints When Printing